Figure out how to go about when you have to sharpen lawn mower blades, ensuring optimal performance every mowing season with our complete guide.

DIY or Pay Someone Else?
If you are someone who loves DIY projects, sharpening your own lawn mower blades is a task that can be both enjoyable and satisfying. We will show how to do this in this article.
On the other hand, if tools and machinery aren’t really your cup of tea or if time is a constraint for you, seeking professional help might be the way to go. Hiring an expert can be pretty cheap and simple.
Tools Needed
- Bench vise
- File or angle grinder
- Socket/ratchet set
- Wire brush
- Spark plug wrench
- Blade balancer (optional)
Materials Needed
- Gloves
- Marker
- Lubricant
- Safety goggles

Step-by-step Guide (9)
Step 1 – Safety Precautions
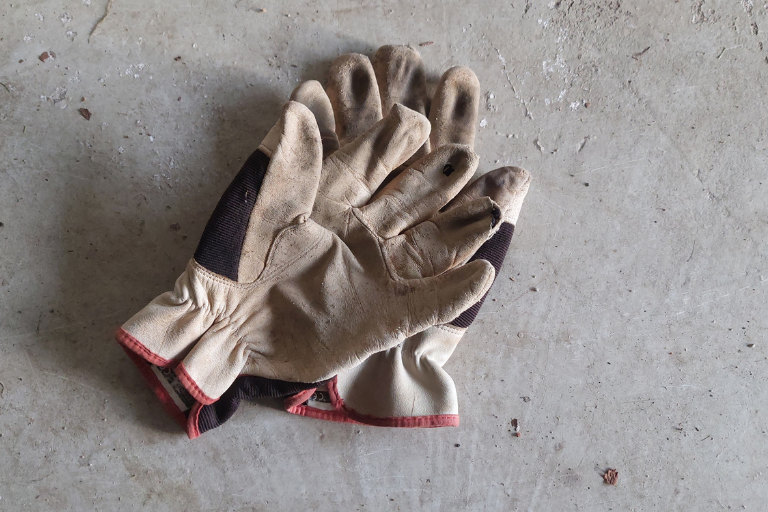
You’ll want to gear up with a pair of sturdy gloves and safety goggles before you start working with your lawn mower.
Disconnect the spark plug, with a spark plug wrench, before you start working on your lawn mower. This can prevent accidental startups and helps keeping those fingers safe.
Step 2 – Tip the mower and mark the blade
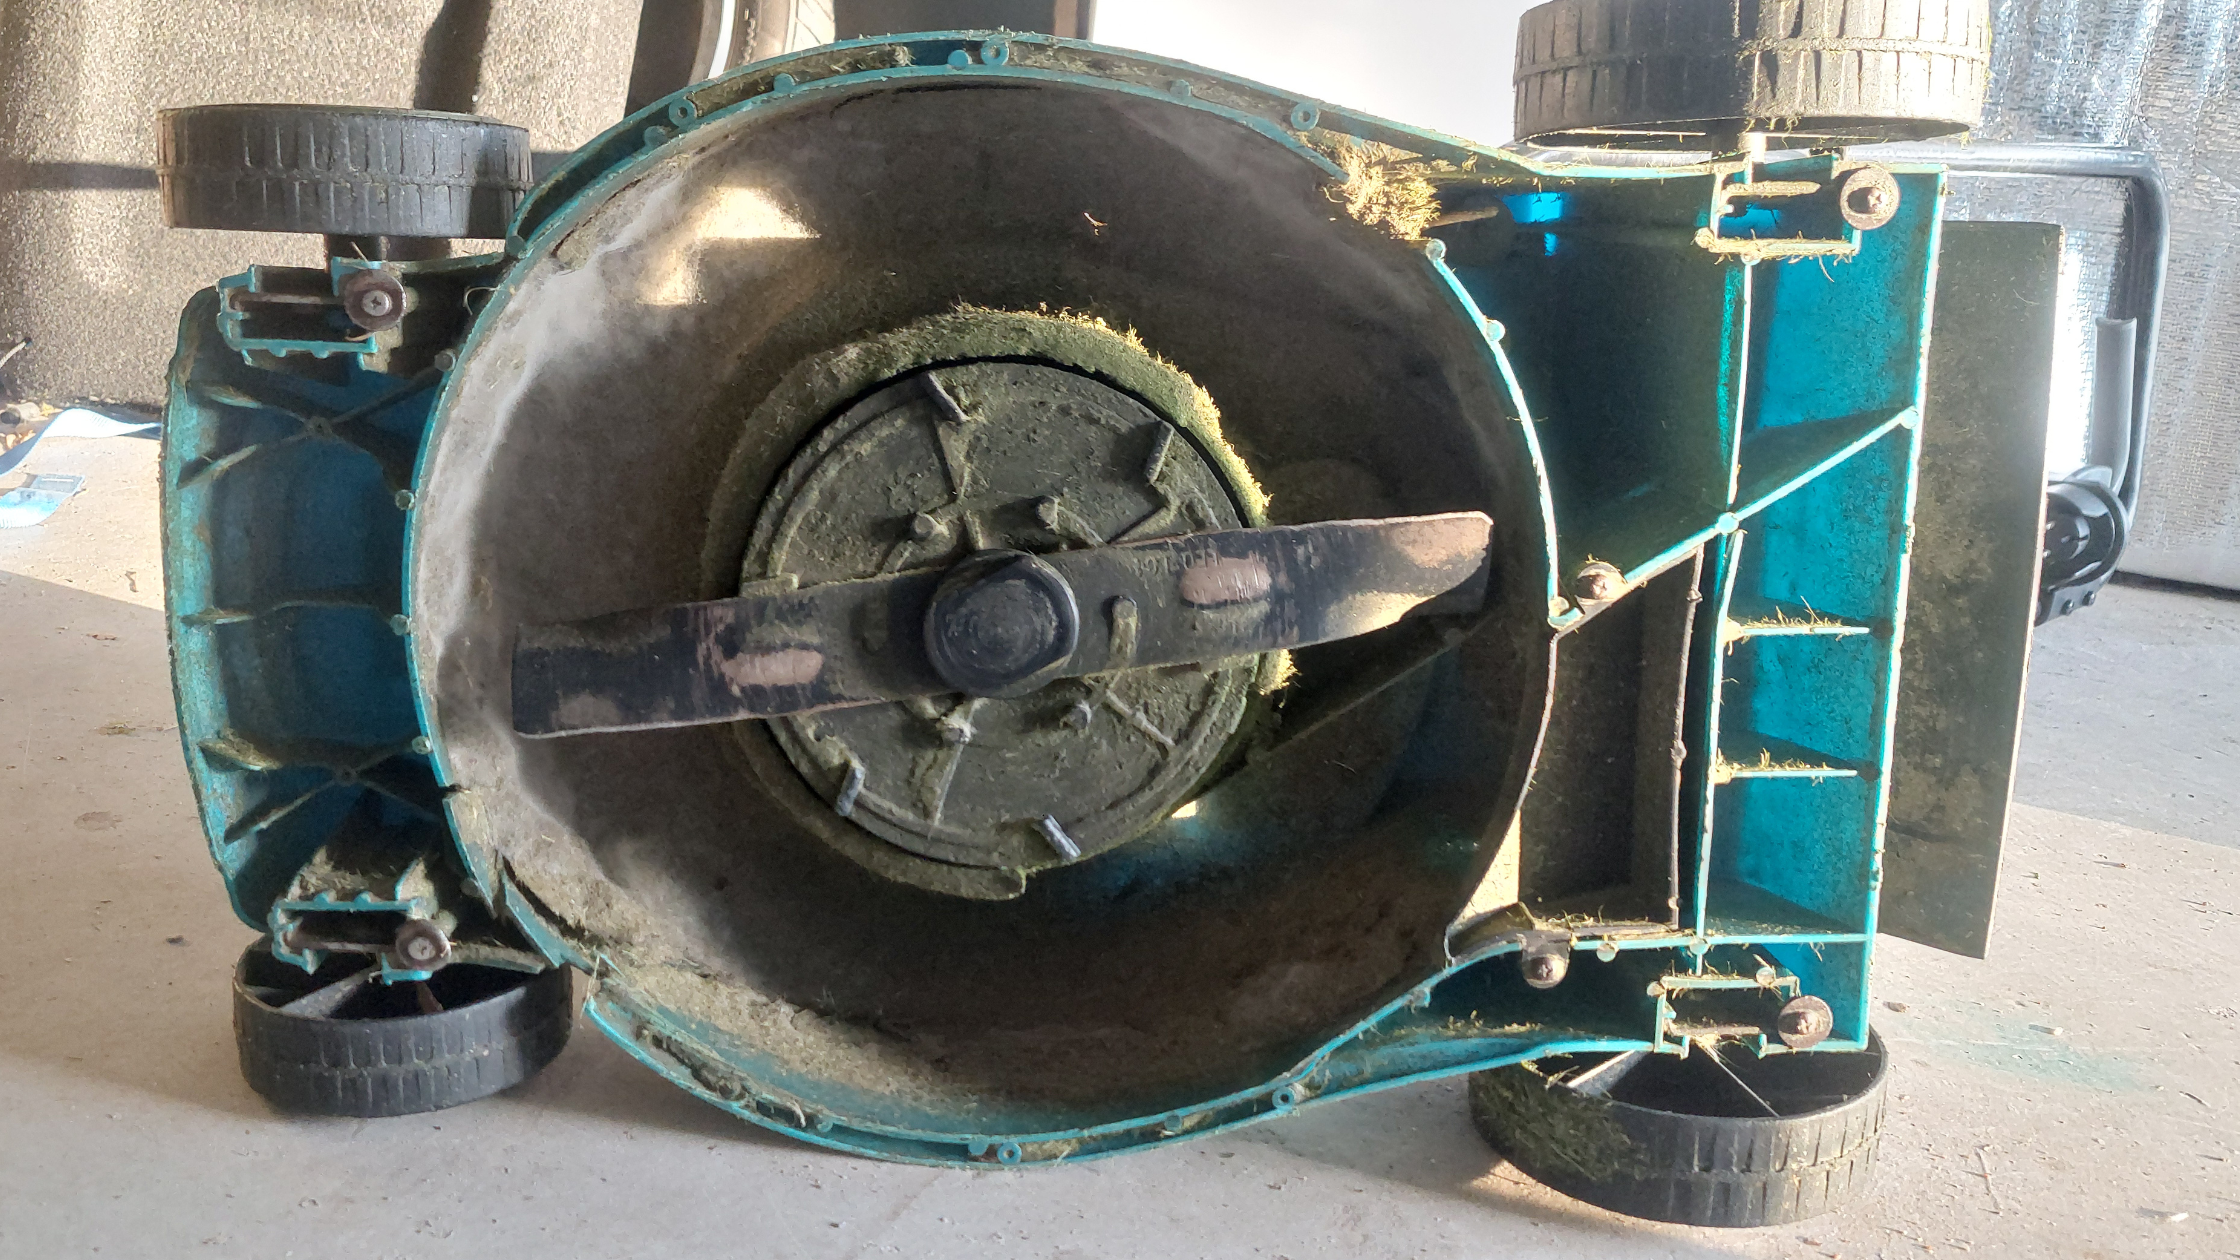
First things first – tip the mower onto its side! This simple act is going to give you easy access to the blade underneath.
Pro tip – tilt your lawn mower so that the carburetor and air filter face upwards to prevent oil or gas from leaking out.
Now grab that marker from your tool set and mark one side of the blade. You might wonder why? Well, this little mark will serve as a guide when reinstalling the blade later on so that it’s facing in the right direction.
Step 3 – Remove the blade
Use your socket or ratchet set (yes, those tools aren’t just lying around for nothing!) to unscrew and detach the blade from its housing. Use some lubricant if the bolt or screw is hard to get off.
Be sure to jab on those safety goggles before getting down and dirty because flakes of rust or debris can easily fly into your eyes during this procedure.
Step 4 – Inspect the Blade for Damage
Do a thorough inspection for any signs of damage on the blade. Let’s not take any shortcuts here. A detailed examination could save you considerable time and effort later on. If the blade is dirty or rusty, make sure to clean it well before sharpening with a wire brush and some soap.
Step 5 – Sharpen the Blade With a File or Angle Grinder
First things first, secure your lawn mower blades in a bench vise. Now, choose if you’d like to use a file or angle grinder for sharpening. Both works.
When using a file for sharpening, ensure it runs at an angle consistent with the existing edge for best results. Sharpening from the top side of cutting edge outwards helps create that perfect sharpness we’re aiming for. Use moderate pressure when sharpening and slide along with an even stroke at an angle towards yourself. Continue with this process until you notice a shiny metal edge appearing along with the length of the sharp part.
On the other hand, if you prefer an angle grinder, it would work faster though requires more skill to control. Position your angle grinder at a 45-degree angle towards the cutting edge of the blade. Make smooth passes along it to allow the grinder wheel to do its job without you forcing it too much into the metal.
Pro tip: It’s always best to go slow and steady when using the angle grinder. Take it easy and make light passes over the blade.
7. Balance the blade
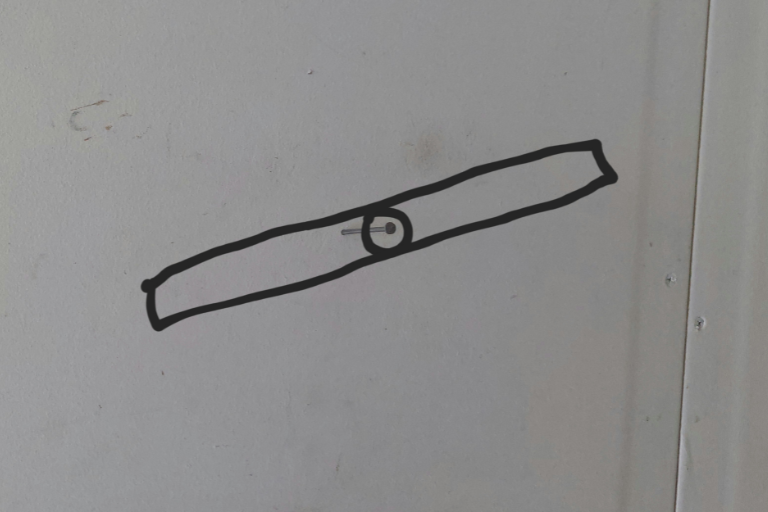
You can make use of a blade balancing tool available at any hardware store or be a little creative and use a nail driven into a wall.
Place the center hole of the blade over the nail or balancing tool. If it tilts to one side, it means that side is heavier and needs more filing down.

8. Reinstall the Blade to the Lawn Mower
For this part of our little DIY adventure, you’ll need your socket or ratchet set and gloves again. And remember those safety goggles?
Position yourself comfortably by your lawn mower. Place the sharpened blade onto its proper location on your lawn mower’s undercarriage using the mark you did before taking it off as a reference point. Then, tighten up those bolts that secure your newly resharpened blade back into place on your rotary or reel mower model.
9. Test the Mower to See If It Runs Well
Watch out for unusual vibrations when trying out your renewed lawn mower. If there are any of those, turn off your mower immediately. An unbalanced blade may be causing this issue and can damage your lawnmower’s engine over time. You may need to re-do balancing the blade correctly.
Last but not least – try mowing a small patch of grass and inspect how evenly cut they are from their roots. If the result isn’t good enough, you’re going to have to re-do either the sharpening or the balancing of the blade.
And that’s how to sharpen lawn mower blades!
Further Reading On Sharpening Lawn Mower Blades
How to Sharpen Lawn Mower Blades at Home
Learning how to sharpen lawn mower blades at home can improve the cutting efficiency of your mower and promote a healthier lawn. Using a file or grinder, you can remove nicks and dull edges from the blade. Regular sharpening ensures cleaner cuts, which prevent grass from turning brown and reduce stress on the mower’s engine. It’s recommended to wear protective gear and follow safety precautions while sharpening blades for optimal results.
How Often to Sharpen Lawnmower Blades
Understanding how often to sharpen lawnmower blades is essential for maintaining a well-groomed lawn. Blades should be sharpened at least once or twice per mowing season, depending on usage and grass type. Dull blades tear grass instead of cutting it cleanly, leading to an unhealthy lawn appearance and increased mower wear. Regular inspection and sharpening ensure your mower operates efficiently and maintains grass health.
Signs of a Dull Lawn Mower Blade
Recognizing the signs of a dull lawn mower blade can prevent issues like uneven cuts and lawn damage. Common indicators include ragged grass tips, brown patches, and increased mowing effort. Inspecting the blade regularly and addressing dullness promptly with sharpening or replacement improves cutting performance and enhances overall lawn aesthetics.
How to Sharpen Lawn Mower Blades Without Taking Them Off
Learning how to sharpen lawn mower blades without taking them off can save time and effort while maintaining blade efficiency. Using a blade sharpener or a rotary tool, carefully sharpen each blade edge while the mower remains upright. Ensure safety precautions are followed, such as disconnecting the spark plug, to avoid accidental starts. This method allows for quick maintenance and minimal downtime during mowing season.
How to Sharpen Lawn Mower Blades with an Angle Grinder
Sharpening lawn mower blades with an angle grinder provides a fast and efficient method to restore blade sharpness. Secure the blade in a vise and use the grinder to remove nicks and dull edges. Proper technique and consistent pressure ensure uniform sharpening across the blade’s cutting surface. Regular maintenance with an angle grinder enhances cutting performance and prolongs blade lifespan.
When Should You Replace Lawn Mower Blades?
Knowing when to replace lawn mower blades is essential for maintaining efficient mowing. Blades should be replaced when sharpening no longer restores cutting performance, or if blades are bent, cracked, or severely worn. Dull or damaged blades compromise lawn health by tearing grass instead of cleanly cutting it. Regular inspection and timely replacement ensure your mower operates effectively and promotes a well-manicured lawn.
Why You Need Sharp Mower Blades
Understanding why you need sharp mower blades highlights the importance of blade maintenance for lawn care. Sharp blades produce clean cuts that promote grass health by minimizing stress and preventing disease. They also reduce fuel consumption and mower wear by operating more efficiently. Regular blade sharpening or replacement enhances overall mowing performance and contributes to a lush, attractive lawn.


